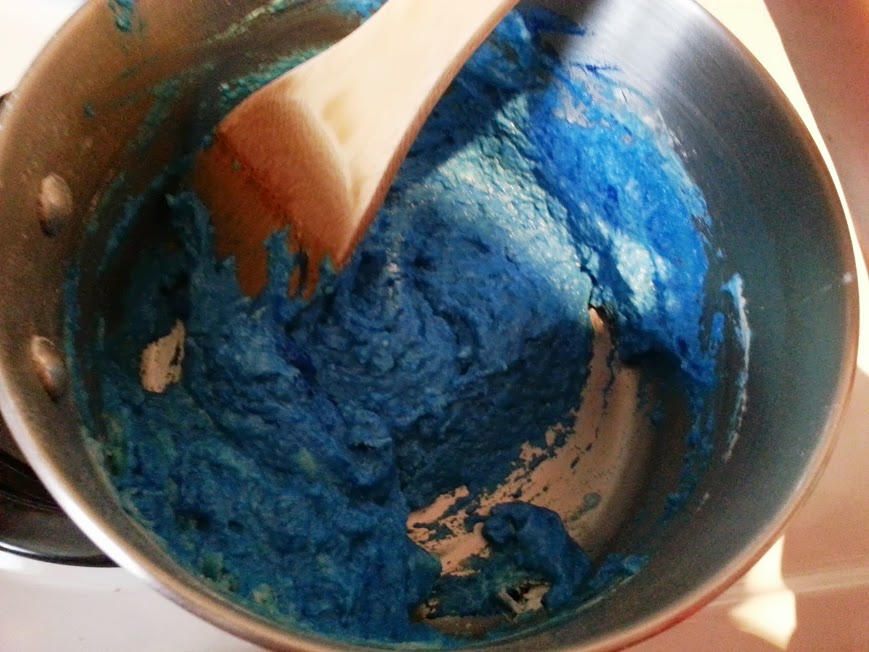
Objective: Make playdough and learn measurements.
The recipe is actually pretty easy, I got the recipe from here:
http://www.kristanlynn.com/2011/09/best-play-dough-recipe.html
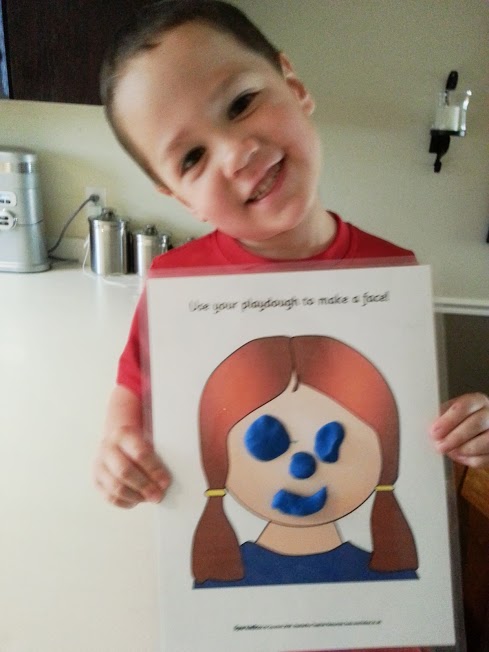
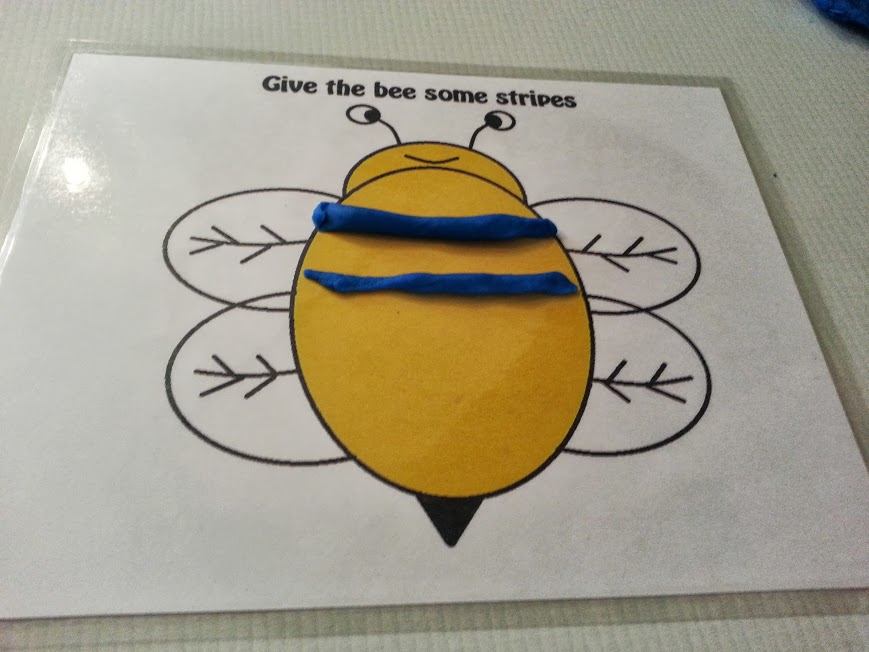
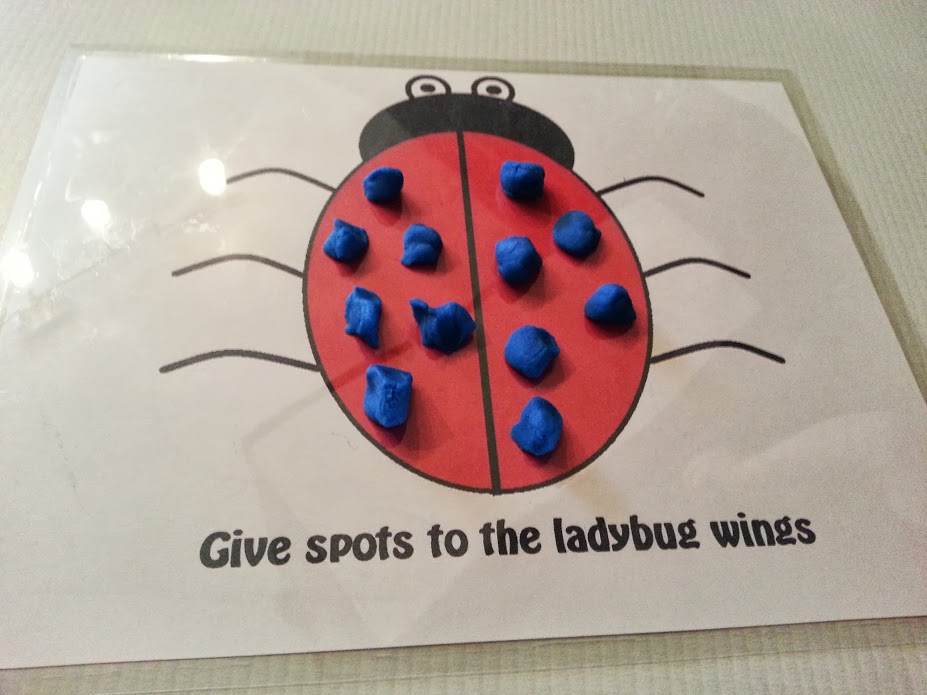
Now it was time to play with some of the playdough mats I created, and with some others that I downloaded from this blog http://planetoftheapels.blogspot.com/2011/09/busy-bag-swap-day-5-playdough-mats_05.htm
Author Archives: taniamalone24

First Day of school! Lesson 1
Our first day of school went well. We covered pretty much everything I planned for the day.. Little by little I’m going to be adding more assignments. We started with some reading 🙂 On Monday we went to the library … Continue reading

Back to School!
We are back!! My kid officially starts Preschool today.. He is 4 now and he is getting so big with lots of energy.. Lets hope for a successful year!
Blue
Objective: To learn the color blue; coloring and play.
Today we reviewed the color blue. I wanted to make this activity fun. I made him find blue objects that I had hidden around the house, by following the blue clues I printed out and colored.

Following the blue clues.

He found several blue objects in the drawer.
A good practice is to have them name each object as they find them saying: Blue paint, blue color, etc.

Following the third clue.


Now it was time to take a break and play with blue slime! I will post the recipe and instructions of the slime sometime soon 🙂
Also, another good practice is to have them find all the blue things on their person.

To close this topic, he colored a blue whale.


Ivory cloud
For this Science Experiment we only needed 1 bar of Ivory soap and a bowl.
Unwrap the bar of Ivory soap, place it in a bowl and microwave it for 2 minutes. The soap will expand into a foam that is more than six times the size of the original bar. It’s a fun trick that won’t hurt either your microwave or the soap.

My kid had a blast watching the soap turn into foam!

We only left the soap in the microwave for 1 minute.

Then we put it back in for another minute, and it grew double the size.

Now time to play!
He made a big mess.
Autumn
Objective: To continue the discussion of Autumn.
We continued discussing Autumn and took another nature walk to gather leaves, pine cones and sticks to make some fun crafts.
Our first project was to make a Fall Fingerprint Tree using orange, red, and yellow paint, and the sticks we collected.

We glued the sticks together with silicon glue, and made the form of a tree trunk.

He used his thumb to make the leaves!

And done!

Our second project was to make birdies from the pine cones that we gathered.
I think they turned out cute!

Our last project was a leaf printing. He painted each leaf and transferred them to the paper, pressing down all around the leaf, then carefully lifting the leaf off of the paper.

Pumpkin Craft
Objective: Make a pumpkin in preparation for Halloween.
Making this Paper Strip Pumpkin was pretty fun and easy. We started by wrapping the toilet paper roll around completely with orange construction paper and taped the paper into place. We cut the orange construction paper vertically into strips that are approximately 1 inch wide and 12 inches long (You will need 8 to 10 strips). Once you have all the strips cut, start gluing, taping or stapling them one by one; forming the shape of the pumpkin. Once you have all of the orange strips of paper taped into place, roll a piece of brown construction paper to make the stem. Cut a leaf out of green paper and tape it onto the stem to complete your pumpkin.


We also made a Paper Plate Pumpkin, another easy and fun project.
For this project we used a white paper plate, orange paint, crayons, glue and printed out a template for the face.
PDF here: http://www.dltk-holidays.com/t.asp?b=m&t=http://www.coloring.ws/halloween/blppumpkin.gif
We started by painting the whole plate in orange and let it dry.

While the paper plate was drying he colored the parts of the face, and I helped him cut them out.
Finally we glued on the face and finished the project 🙂
Open and Close
Objective: To discuss the terms open (Abrir) and closed (Cerrar)
I began with the concepts of Open and Closed by using the door. You can extend the concepts by using a box, windows, drawers etc.
Here is my kid demostrating the concepts
Opening the door

Closing the door.. Then he said: Bye mommy! He was ready to run away!

We also spoke about what it means to have one’s mouth or eyes open and closed.
Eyes closed

Mouth closed

Eyes open and mouth

Then he was just making funny faces.

On, over and under
Objective: To learn word meanings of on (En) , over (Arriba) , and under (Abajo) ; to use reasoning; to follow directions.
I printed out a table along with kitchen items to use in illustrating the meaning of on, over and under. He followed the instructions putting the items on, over and under the table while I was telling him to do so.

Putting the bowl over the table
Cooking pot under the table

Plate and bowl over the table, cup under the table.
You can also use your kitchen table with any items you find around the house.

Cooking pot, fork and spoon under the table.

I also printed out this good worksheet I found online to practice “Over and under”
PDF here: http://www.tlsbooks.com/overandunder.pdf

Red, yellow and orange
Objective: To review red (Rojo) and yellow (Amarillo) ; to learn orange (Anaranjado) ; to trace
I let him trace several shapes from the Fit-A-Space shapes, and color them with red, yellow and red crayons.

We cut out the shapes and glued them on the paper.

I wrote the name of each shape and forgot to put the names of the colors.. Oops!!

For enrichment I pulled out the red, yellow and orange shapes. He put them together on a lace, making a pattern of color and a shape.


For additional fun, I cut strips from constructions paper of the three colors to make a paper chain ( I made my strips too short, so make sure your strips are long enough – about 1″ x 8 ½”). One you have cut all the strips , take one strip and overlap the ends to form a ring then glue them in place (we actually used staples). With the strip of your second color, pass it through your first ring and glue it. Continue until the chain is the length you want. Easy, simple, and fun!

We ended up with a long paper chain.
